What I mean is, if you do something wrong, or not to the result you wanted, you can't undo what's done, but you can carry on going forward and try again. Hoping to get it better next time.
This is how I look at my crafting. It's not always perfect.. in fact, to me, it's never perfect, but people seem to like what I do. I often wonder why, but I think like so many crafters out there, I'm never happy with what I make. I have this conversation regularly with other crafters. Now, whether it's just a case of a low self esteem, low confidence, or just genuine good old self doubt, it never ceases to amaze me how many people don't like what they produce.. and that they all feel like I do!
What I have found however, is that driving all over doing demo's can be quite therapeutic. Usually on my travels I listen to Radio 2, quite a few of my favourites on there, but after a while I do just want to sit in the peace and quiet. My drive over to Stockport the other week was no exception.

Nipping up and over the Peaks, I came across this beautiful view... well, I couldn't help but stop and take a quick snap of the scenery. I had set off early to ensure I got to my demo on time, so spending about five minutes looking at this was nice. Doesn't it look beautiful?
I've also been busy making a few extra samples for the craft area at Ackworth Garden Centre. I do my Docrafts demo's there, but to help out, have made a few samples for other bits that aren't selling too well.... and how can these not sell? I lubs wellyfants and these little couple are no exception.

I've coloured the stamped images with pens and then used the fantastic Boofle papers and Papermania ribbons to finish off. I just love the simplicity of this card.... it was hard to let it go!
Here are a few more samples from this range too... quick details underneath to what I used.

This little guy uses the stamp which I have coloured with pencils, and I thought it would be perfect to team up with Wellington papers... they are so generic for male cards, I felt that they worked perfectly.

A little decoupage card here... simple embossed background on this card and a lovely lime green base to the layers.

Finally... LOVE this little guy... I reckon this little card could rekindle my love of decoupage.. I've kept the background really simple and used the fantastic Capsule spots and stripes collection in pastels (Docrafts).
Hope you like this little selection... more coming soon!


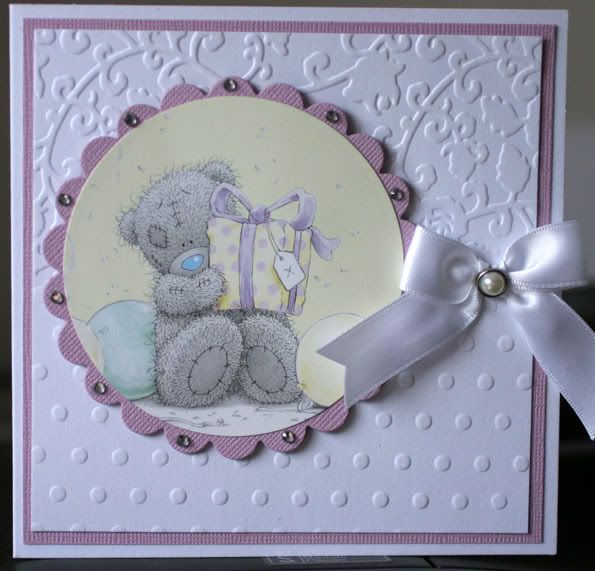
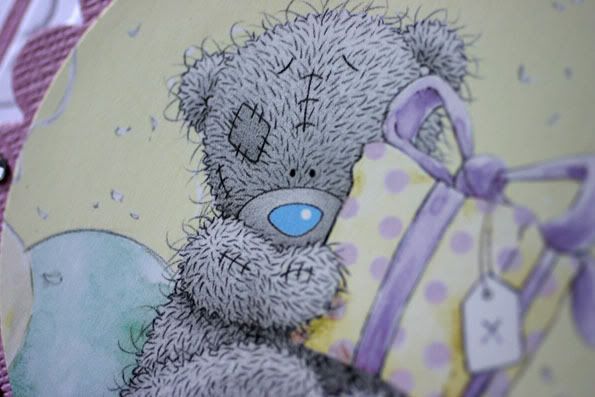
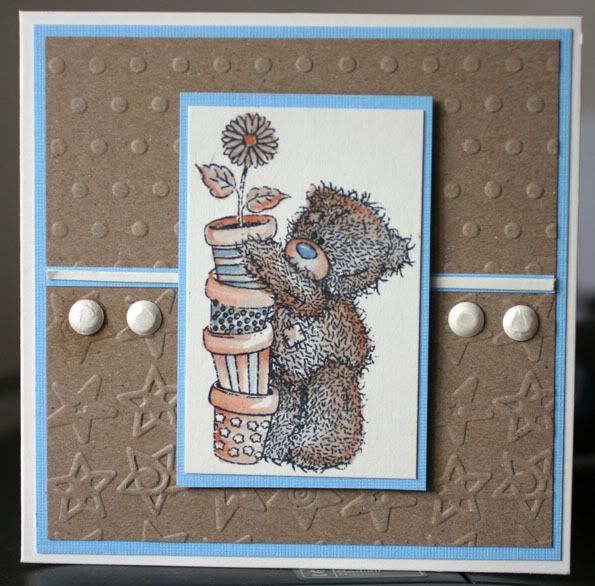
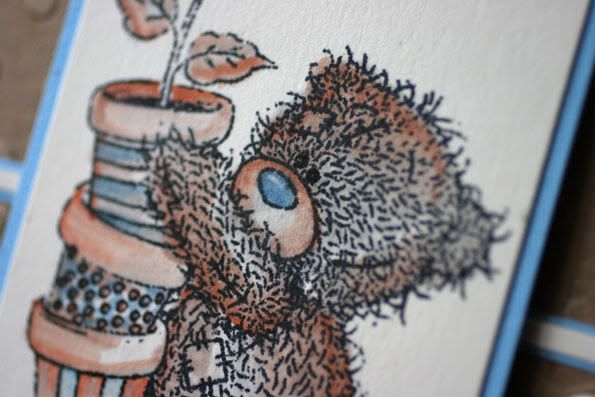
.JPG)
.JPG)
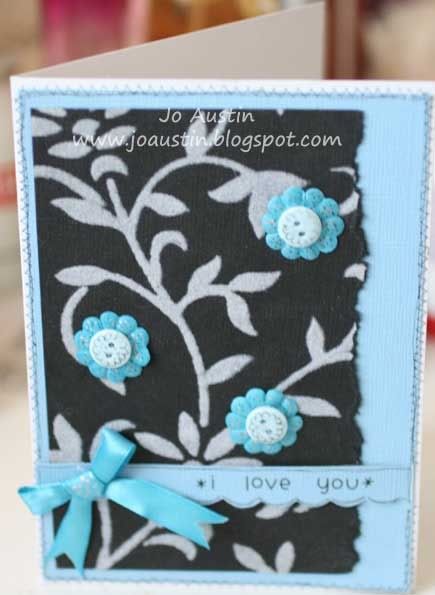
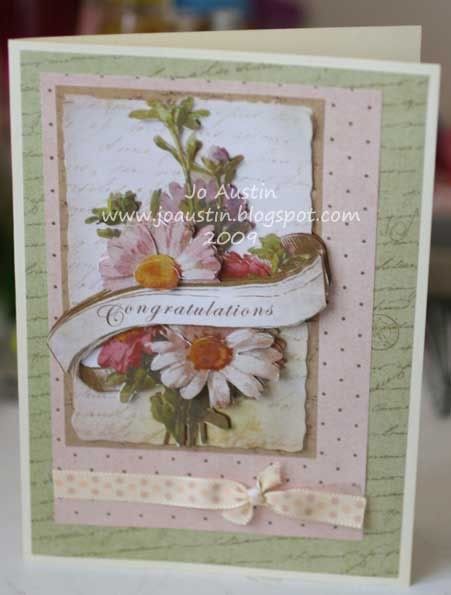
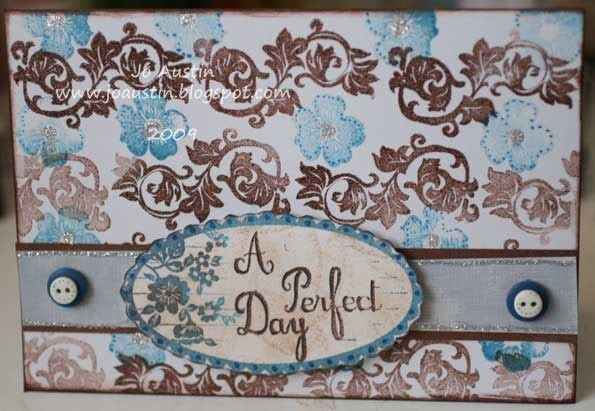
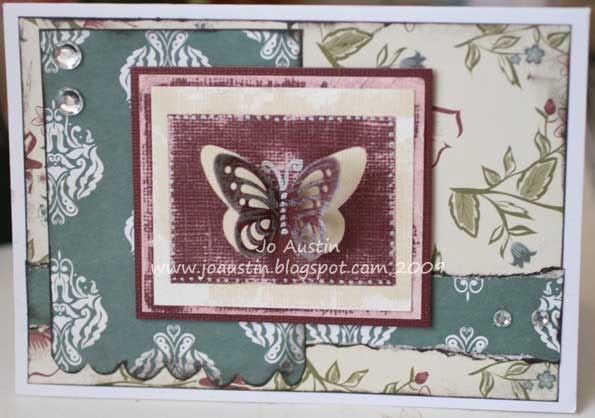
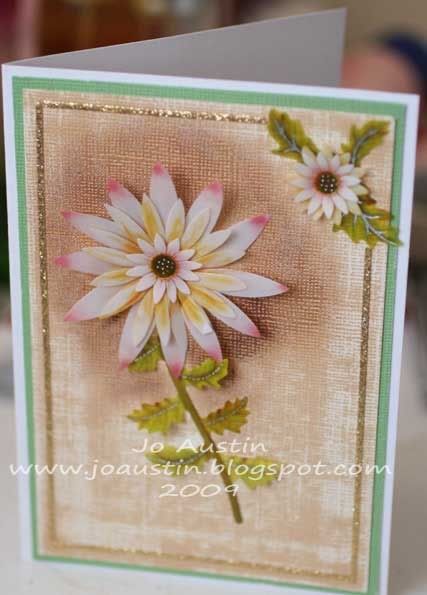
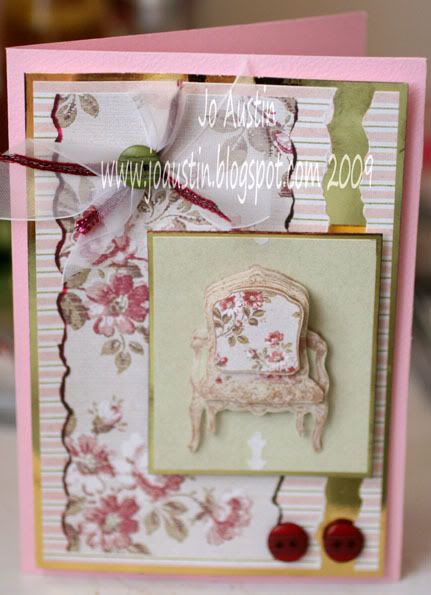


 This bright card was made using the Forever Friends stamps. The scallops were cut with fancy scissors and the holes made with the cropodile. The background was stamped with clear pigment ink and chalked over.
  This card is quite a simple little card, but uses one of my favourite stamps.. It's a stamp you can use for all sorts of occasions really, so I can see it being quite well used! I used Christmas papers with this one to make him into a Christmas Teddy!
 This was using a little christmas stamp, stamped in white and outlined with white gel pen. Shadows were created with a white pencil.
  This is a sheet of paper from the Celebration set, just cut and added to the card. The wording was stamped with the new PM clear stamps and then coloured and had Anita's tacky glue put over to add a shine. Dimensional stickers add a finishing touch.
 A sticker was used on this card, along with a little bit of paper pleating. Simple!
 I decided to give this stamp a sepia look. I coloured with brush markers and then used a blender pen to pull out some of the colour. Papers are Forever Friends by PM.


 All products are Papermania, the ribbon is a bit of some I had laying about. The stamp is the New Papermania stamp, coloured with brush markers and layered.
 I just love this card! With the assistance of my mate Nikki, I managed to make this bow fronted card... Quite liking this idea! I mounted a piece of acetate in the frame and added some of the lovely Forever Friends papers to the inside.
  Fold this piece of paper into a triangle, open up, fold the other way into a triangle to create a cross in the middle of the paper.
 these are the folds shown - and the large cross in the centre to mark where the lines cross.
 Bring all four corners into the centre of the marked cross, and crease across.
 Repeat with sides two and three.
 When you have finished pulling the sides in and corners out, you create a windmill type of thing!
 This is what it looks like when all four corners have been flattened out.
 Fold each corner section back onto itself to point to the outside.
  The last thing you need to do is to fold the four sections which are pointing to the inside, back on themselves to open up the middle.