Showing posts with label challenges. Show all posts

Friday, 22 February 2013

Two shades of blue..

Hi-de-hi... Evening campers...

How are we all?

I've had a full on sort of day today - starting off with adjusting a little pattern I'm creating at the minute for the Creativity magazine, then straight onto pom poms, funky foam and felt! I've been preparing for a demo this weekend over at Ackworth Garden Centre, and it's a childrens demo this time.. so there'll be lots of ideas and inspiration for children of all ages - including mine!

Tonight, however, I want to share a little make with you and it's another Bestie girly. Loving these images so much at the minute. They are a doddle to colour, and of course, because they are digis, they can easily be put into the Digital Designer and resized accordingly to fit onto your card.

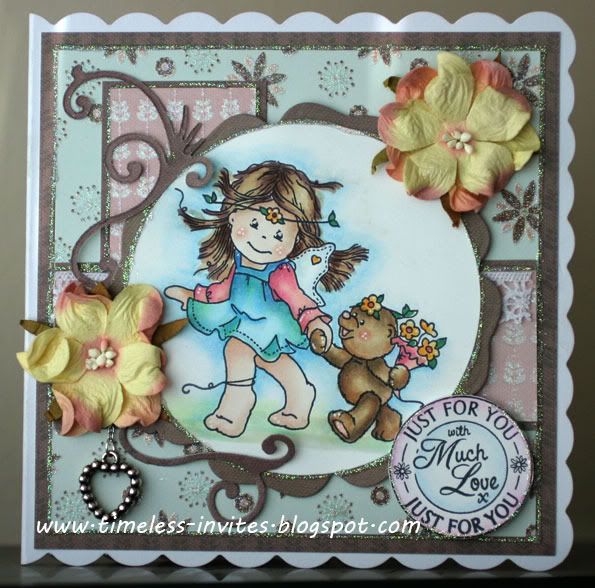
Here's the finished card..


I've kept the layout quite simple, mainly because I think the image needed to be kept nice and focal, so I decided to just add a bit of a handmade bunting, and a punched border. I'm not one for using too many flowers on my projects... I tend to like my cards less cluttered.


Here you can see the colouring in slightly more detail. I've used pencils for this card, just laid on quite thick and blended out a little. And she's got the perfect little cheeks to add some blush too... isn't she beautiful?!


I've added some glitter glue to the skirt and around the ears and tail, and also some Anita's 3D gloss to the shoes to give them a little shine.


And here's the bunting.... simply made from the fantastic Papermania twine in pale blue, and some craft tape over the top, folded then cut to a flag shape... simple!

I really hope you like the card tonight... it was made in about an hour, so a bit more rushed than usual.. but hey.. time waits for no man (or woman!)..

I'm entering this into the Besties Challenge - Two shades of Blue.

I'm also entering it into the following challenges.

Well.. that's it for tonight... my bed is calling me and the woofers are snoring like troopers!! Night all..... 


Friday, 17 August 2012

Sleigh bells ring... can you hear them??

How are we all? Sorry I've not been around for a few days, but I've lost all track of time this week.. not sure where, but I lost a day somewhere mid week! So, now I'm busily playing catch up. Well, I say catch up... not exactly a catch up me thinks.. but getting started!

I have a demo this Saturday at The Range, Rotherham - so if you're passing feel free to pop by and say hi.. it would be lovely to see you. I'll be there from 10 until 4. And yes.. there is a little bit of Christmas involved too. Haha.

I love Christmas, not sure about it this early in the year.. but then again, I guess August isn't really early to start on the cards is it??!

Anyway.... I came across a few challenges this last week so thought I'd have a little play along.
Here's my card, and I'll list the challenges at the bottom of the post.

I opted to use one of my all time favourite Christmas stamps. Isn't it cute? I love the sleigh, but the Forever friends teddies are so cute. And we all know I love cute!

It fitted in the fur and feather theme quite well - furry teddies and feathers on birds.

You will note that the challenge was also for one layer, so I started the card by stamping the sleigh where I wanted it, then overstamped the Christmas tree to the stamp so that it layed over the image. I wanted the sleigh to 'pop out' from behind the tree... and I think I managed that.
I decided to colour with pencils, then blended the colours. The snow was made using liquid applique - love this stuff and it adds a great texture to the card too.

Here's a little close up for you. You can see the tree slightly better in this picture. It's a papermania set of stamps, but I can't remember the name off hand... but they're very sketchy and lovely.
Here are the Challenges I'd like to take part in..

Celebrate the Occasion - Christmas in August
Simply Less is More - Fur and Feather

Besides making my challenge card, I also had a little play with a stamp I've had for a while. This is a Thank you card for a great person... but to give you a taster, here's the image. Cute eh? He soooo reminds me of my Mr Scoobs.

I'll show the rest of the card when I know it's been received. Until then.. happy crafting!


Monday, 11 July 2011

A bit of a challenge...

This whole week has been a bit of a challenge... lol.. finding time to update my blog, do samples for my demo this past weekend over at Lambton Park and get my house nice and clean! I'm afraid the housework had been a bit neglected for a few days - mainly because I had other things to do.. and as you know, crafting always must take priority!

Anyway, my demo over in Durham went fantastic - what a lovely bunch of folks we have there. Always so friendly and interested, and we share our thoughts and ideas too, which is fab! My next demo is in Doncaster next week, no demo this Saturday.. but no rest for the wicked eh?!

But to get my old blog updated for you, I thought I'd share a project with you that I've made for the Simply Less is More Challenge blog. I love their themes on that blog and I always like to play along.

The theme this week was a One Layer card (which again, I love!) and also to include something with legs.. so here's my take on the idea.

Photobucket


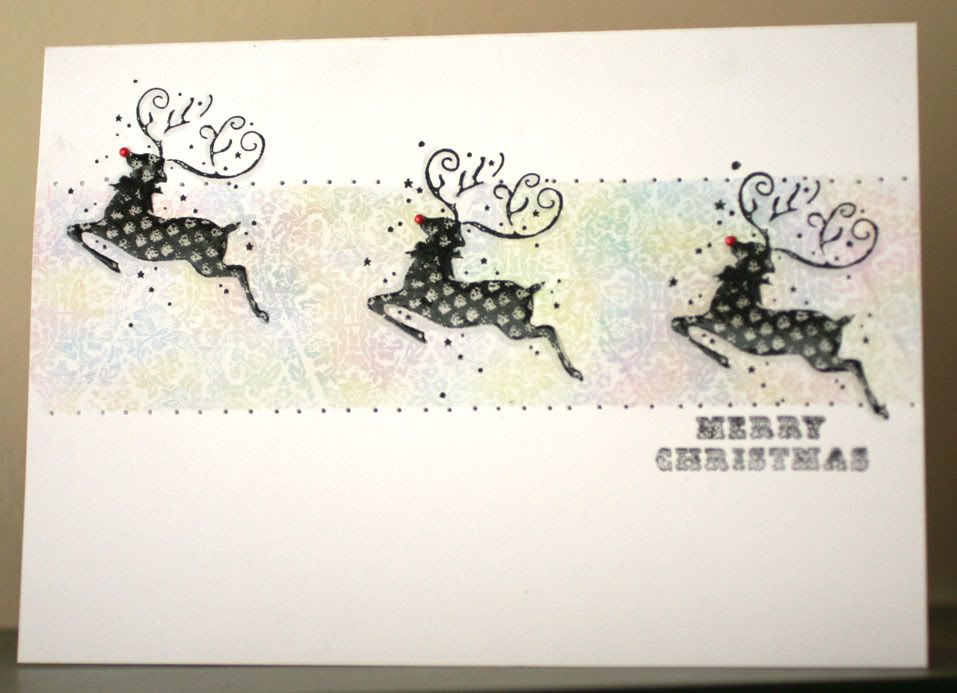
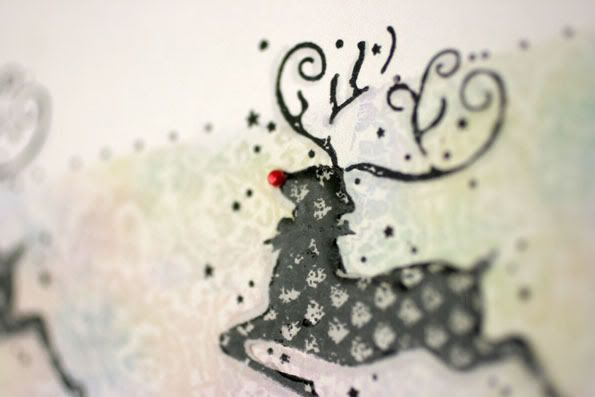
I decided to use the not-so-often inked up reindeer stamps from the Joyeux Noel range that Docrafts bought out last year. They are really lovely stamps and as you can see, the images are so detailed.

Photobucket


To finish off my little reindeer, as it was on the one layer, I used some 3D gloss over the top and added a little pearl that I coloured in red, to his nose.

Hope you like it!

Thursday, 7 July 2011

Time is passing by...

I've had a very busy week... and have loved every minute of it.

On Monday, I travelled down to Bath to film four episodes for Docrafts, for their online Creativity TV, and I returned home on Tuesday. The place I stayed at, in Farrington Gurney, was absolutely beautiful. I'll post some pictures soon.

I was shattered by the time I got back! lol.

On Tuesday, it was our Challenge day over at the My Time To Craft Challenge blog.. and the theme this week was A La Carte.. it's all about food this week!

This was my DT entry for the Challenge.


I decided to use my Tatty Teddy image - isn't it cute? I've not stamped it up since I had it, so it was nice to pull it off the shelf and ink it up.

The papers are from the Cupcake collection that Docrafts bought out a few months ago, and I thought it complemented the theme really well.

I also added a little bit of glitter here and there.. .and I was really pleased with the finished result.

Other than this, I haven't really done alot of crafting this week - I've just been so busy and time is running away with me.. but I'm not complaining because I love being busy. So.. I hope you have time to play along with our little challenge this week. I'd love to see your entries. Why not pop on over to the Challenge blog and check out the other DT work... it's fab!

Wednesday, 29 June 2011

Sweet Baby

I think I just managed to get this one in time... I started it yesterday, and couldn't really decide what to do with the image after I'd coloured it... usual story really.

But, I found a lovely sketch over at Willow Designs blog and a great theme over at the Passion for Promarkers blog, so thought I'd play along.

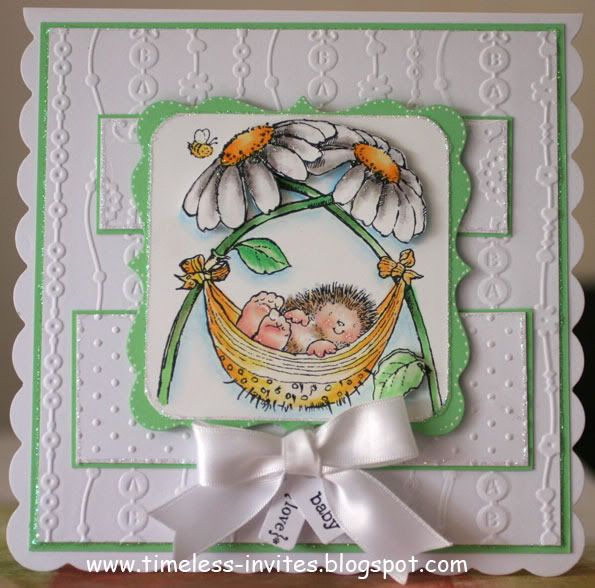
Very quickly uploading it now.. but here's the finished card.

Photobucket

I've used a variety of embossing folders to keep the card really clean looking.

Photobucket

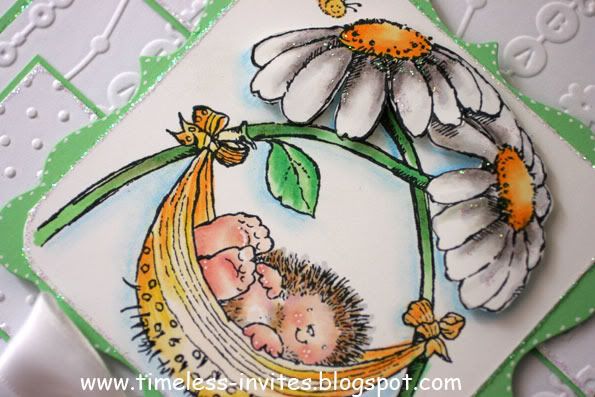
I double layered the daisies at the top of the card.

Photobucket

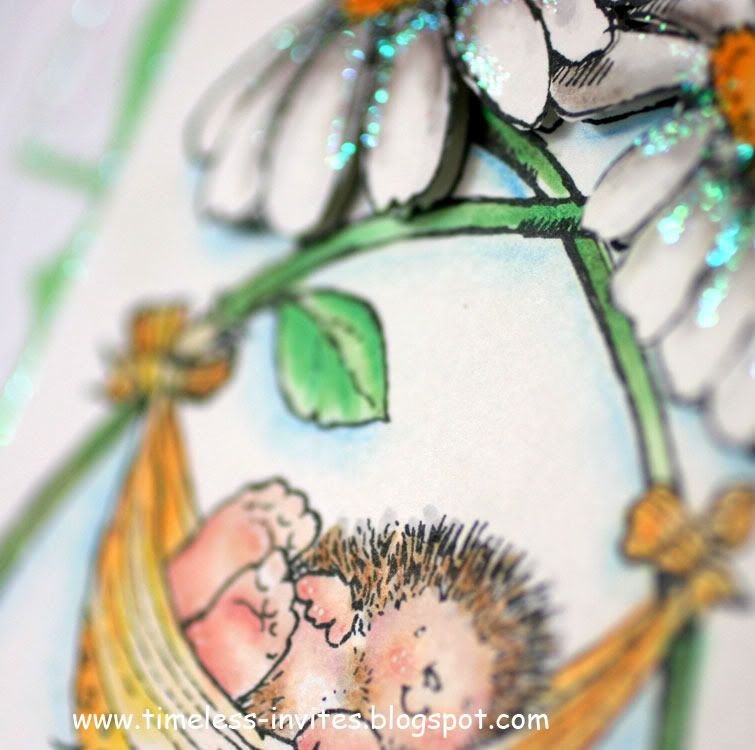
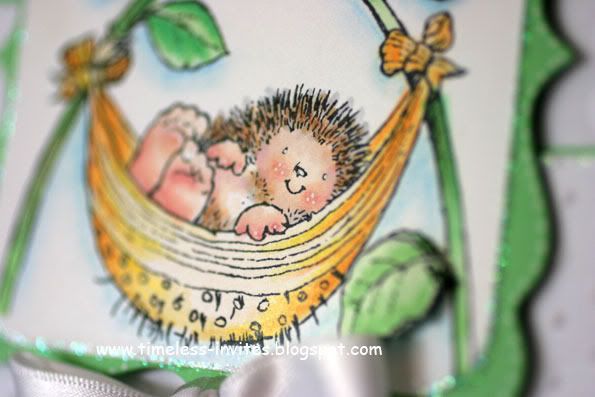
Here's little cutie-pie Hedgebaby looking oh-so-sweet! And finally -

Photobucket

Just a quick look at the main part of the card - I know the PB hedgies are grey.. but I wanted mine to be brown to look like little Hyacinth that we had years ago. She was a little teeny tiny hedgie that we overwintered as a rescue.. she was a right little tubber in the summer when she went out into the wild. Lovely to see her go, and hopefully she went on to live a happy life.

Right.. I've got to get cracking on some samples and bits.. so I'll see you shortly!

Here comes summer

Hasn't the weather been wonderful this past week? Lovely sunshine - albeit a little too hot for me - along with some thunderstorms at night. It's cooled down a bit now, more to my sort of temperature.. lol.

Today, I'm going to spill the beans on a little secret I've had.... I've been chosen as a Design Team member for My Time to Craft !! I got an email this last week from Wendy, who is part of the blog, offering me a place. Well,  of course I said yes please!

I love doing Challenges - not for anything other than the fact that I didn't do them for so long, and I now find it's a way of using my stuff that I've had for a while and never used! They challenge me, and that is what I like. I love sketches, themes etc.. you name it, I'll give it a go. And I'm sure you'll find the regular ones I take part in, up and down my blog!

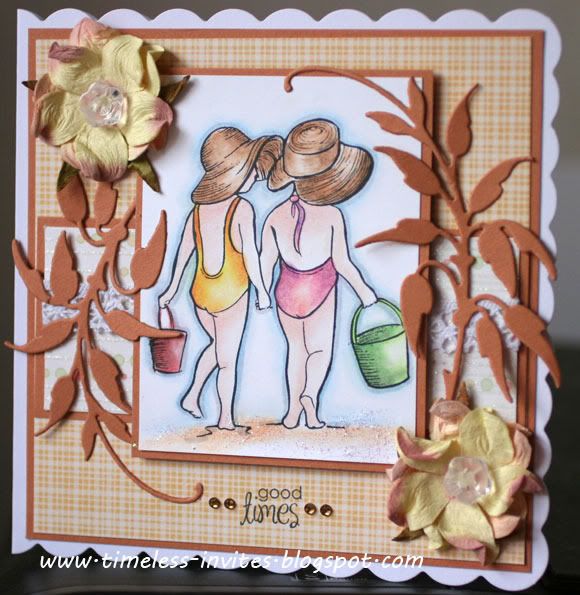
So.. without further ado, here's the first card that I've made for the Challenge blog. The theme was Here Comes Summer.. and this is my take on it.

Photobucket


This image is a lovely one, don't you think? So reminiscent of my children having a day on the beach. Usually their buckets were full of starfish, where especially my youngest, would pick them up out of the rock pools and take them back to the shoreline.. I think at one count she'd been busy all day collecting them up and putting them in a line that she ended up with about 30!

Photobucket

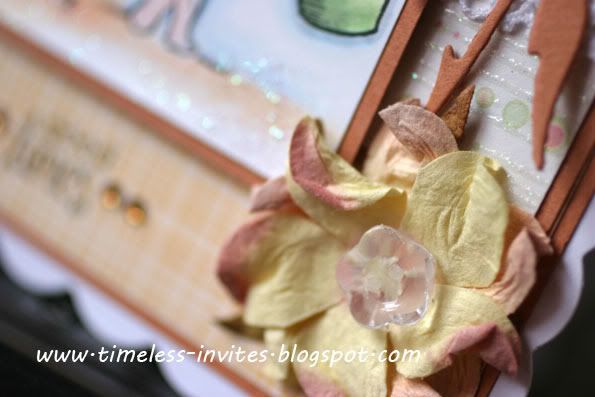
The button on the flower is one I got from a great little craft shop a while ago. How cute are they? Slightly more dimensional than I would have liked, but still pretty.

Well... I must get on - lots of work to do before I can relax a little on Wednesday.

Happy Crafting everyone!!

Monday, 27 June 2011

Just like a bus...

You wait forever, and then loads come all at once... Haha. That's what this post is going to seem like, I'm afraid!

Gosh - where to start...

After a very busy 'Docraft-y' week, what with magasine commissions, 'other' projects, samples to be made etc, I thought I'd take a bit of a step back today and do something for ME before I get cabin fever! lol. (not that I do really, but my mind isn't working too well today - lack of sleep due to the heat and no caffeine).

So.. what have I made?

Well, one of my makes I can't show you for now, as that is for something a little special that happened to me this week. (Wendy, you know what!!) I am so happy with myself too, but I'm not spilling the beans just yet.

Other things I've been doing, is trying to catch up with a few of my favourite challenges.. which is where the long post comes in.... why oh why do they all have to finish on a Tuesday/Wednesday? Haha. Oh well, it gave me something to focus on for an hour or so whilst I ran these off.. so without further ado - here are today's cards.

Firstly - a theme card for Passion for Promarkers, and the theme is 'Park Life'... something you would do in a park... so I decided to go with 'Picking Daisies'. This is also being entered for the 'Anything goes' challenge over at the I Love Promarkers site too...

Photobucket


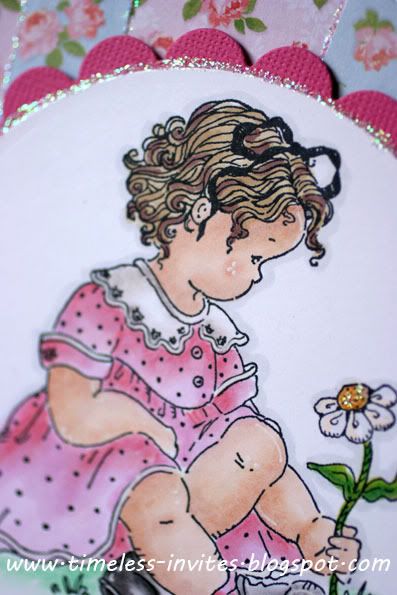
And here's the close up.

Photobucket


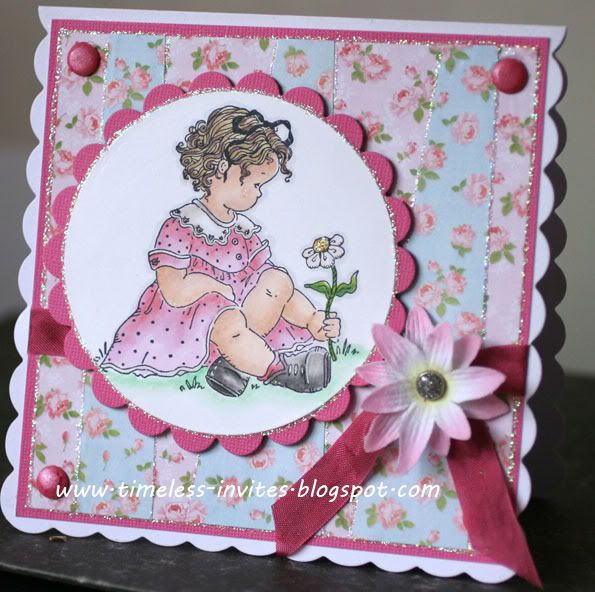
I absolutely love, love, love this stamp... it is so beautiful. It just reminds me of my older daughter when she was little, and in fact my younger one too... such sweet memories.

I kept the background quite simple by just doing a bit of layering on the base layer of paper, but I added some glitter around to give it a bit of bling. I also shaded her with a bit of prisma pencil.

Now for the Challenges, Top Tip Tuesday and Simply Less is More.. these two I've tied in together to create this card with a stamp set I've not often used... (not often = never!)

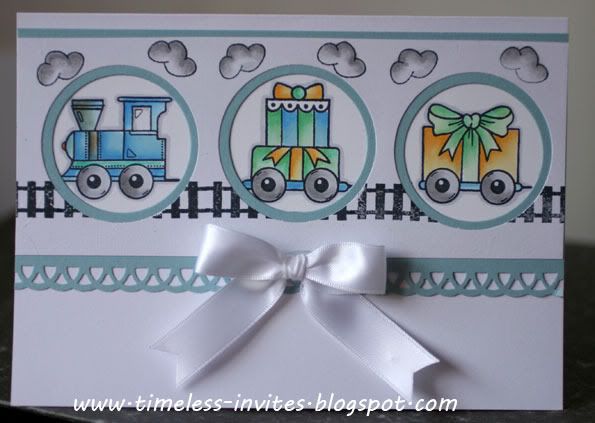
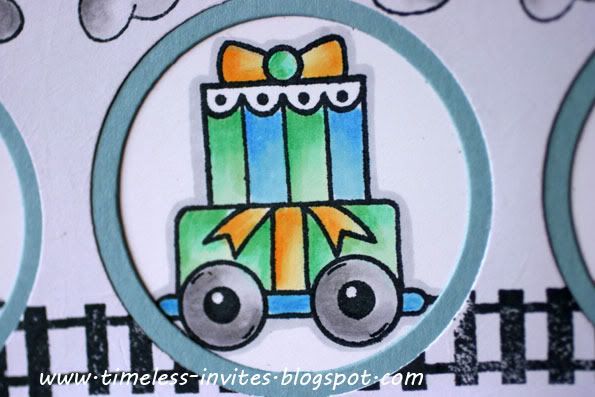
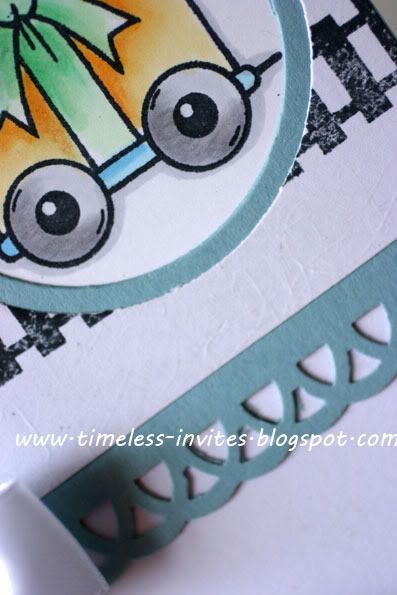
For the Top Tip Tuesday, the theme was 'Cross it'... and this is where my punch border came in. I specifically chose the crissy-cross one as the card was predominantly for a boy's card. The railway track also crosses the apertures in the card.

Photobucket


I followed the sketch that was put up on the Simply Less is More blog to create the card, and kept it really as it was. I was going to do squares around the trains, but decided to keep it a little softer by using circles.

Photobucket


I am also entering this one into the I Love Promarkers challenge too... Anything goes. What a great theme for a freestyle card eh?

Photobucket

Something I found useful too, when I was doing my track.. I had decided originally that I wasn't going to include it, so I cut out my circles... then decided actually I did want something there. I was too scared to stamp straight onto where I'd punched, as I thought it would go over the edges, so I placed the cut out circles back into the holes and stamped over the top... a type of masking I guess.. but it worked, and the card wasn't ruined.. so I was happy!

Right.. must dash and get the rest of my paid work done. lol. See you soon - Happy Crafting!

Tuesday, 21 June 2011

Thank you Miss Promarkers... !

Just popping on to say that after quite a stressful few days, I've had a great day of achieving lots of things crafty.. lol.. and it was finished off nicely when I nipped onto the Promarker challenge blog to see what this weeks challenge was.

OH MY WORD - I can't believe that my wedding card HERE got me a place in the Top Five Passionista.. !

It has truly made my evening! Thank you Misses Passion for Promarker Ladies!

Friday, 17 June 2011

Mad as a Hatter

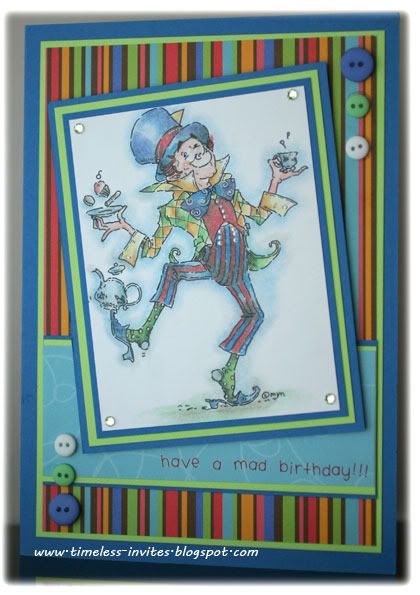
Not me personally - although some would probably agree with that statement! But I'm talking about my card for today.

I was asked to make a Mad Hatter card for a birthday boy, so I duly purchased and downloaded my Mad Hatter from Mo's Digital pencil and got colouring. I used my promarkers - and I don't think I left the ink to dry long enough as they ended up looking rather muddy, but okay. Then I started to add shading around the image and it all went wrong! It looked like he'd got smoke coming from his derrière! lol..

So after another print out, I set off colouring my next image. Let me tell you... I was really mad that I'd messed up my first one after an hour of colouring!!

Anyway.. here's the result.
Photobucket

I chose to colour the card completely in my prisma's and I didn't have any papers to hand for colour matching but fortunately these old Doodlebug ones suited the image perfectly!

As the card was for a boy, I kept it quite simple and just used buttons to embellish. These buttons were from the same Doodlebug pack that the papers and card were in. It also fits in perfectly with the Samuel Taylor challenge for June, which is a card for a MALE.

Photobucket


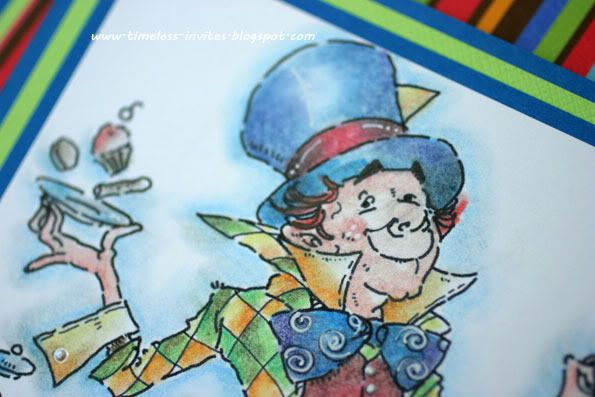
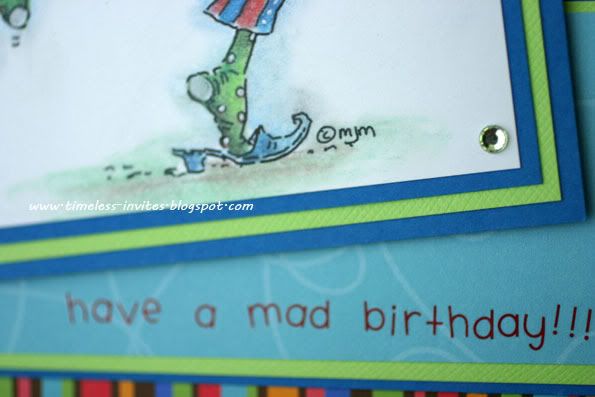
This close up shows the shading of the image.. and the image below is the sentiment.

Photobucket


I hope you like it!

Here comes the bride

Morning folks... well, I don't know about where you are, but the weather here looks like it's going to be an odd sort of day. I've got a pack of Christening invitations to make a start on today, as well as a few other things to get sorted in the next few days, so I'm going to be busy.. what about you? What have you got planned?

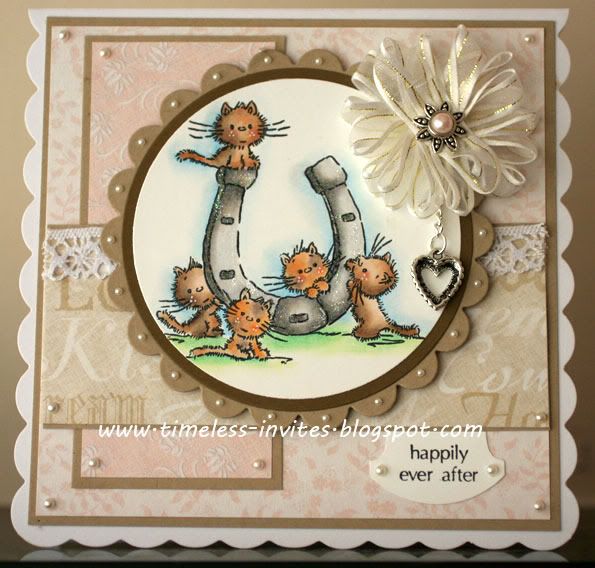
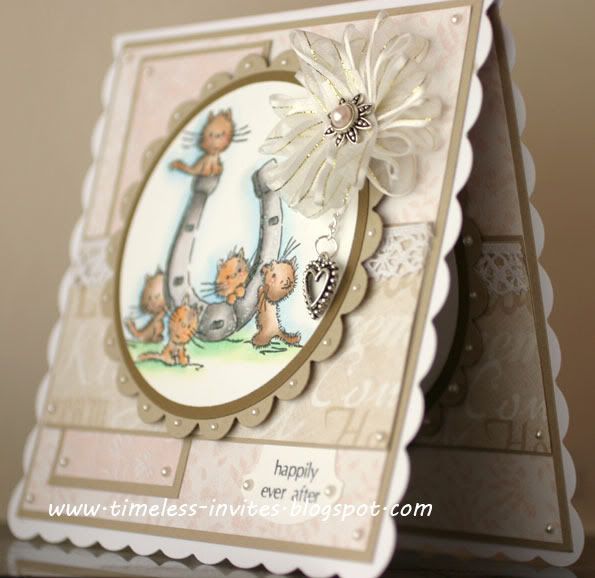
Today though, I want to share this card with you. I didn't want to use a traditional style wedding stamp, although the theme on Passion for Promarkers Challenge was Here comes the Bride.. but I've gone for these little cuties.

Photobucket

I decided to make some of my kitties ginger tabbies, and others are chocolate brown.

Photobucket


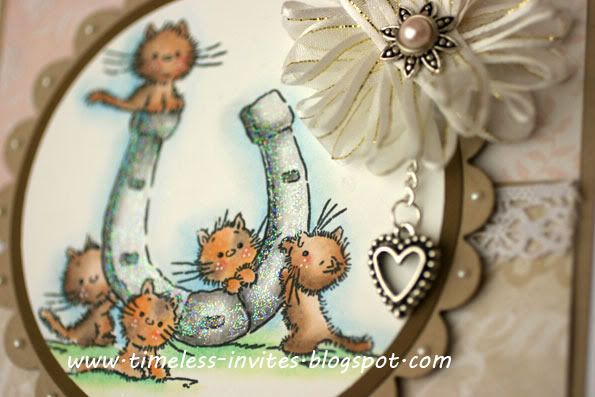
The stamp is a Lili of the Valley stamp, and I've coloured using promarkers and added shading using prisma pencils. As you can see, I've added a bit of sparkle to the horseshoe and yes, my kittens have blushy cheeks again. (as I said before... it's the law! lol)

Photobucket


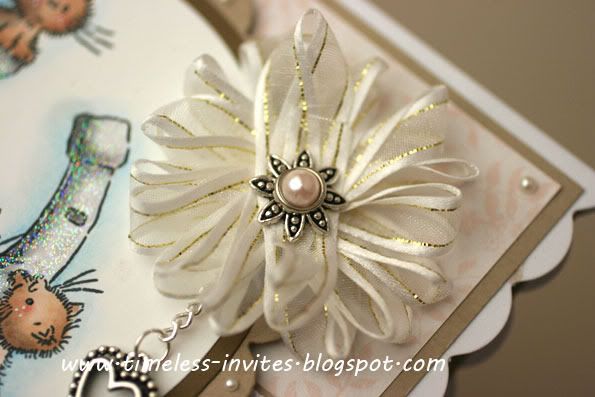
I made the organza flower by sticking pins into a piece of foam and wrapped the ribbon around. I've fastened it all together with a brad, and then added a lovely silver charm. This means it also qualifies for the challenge over at Pink Gem - Flowers and Charms.

Photobucket


I've decorated the inside of the card too - something I love to do, rather than use a plain insert. You can see how it looks above.

Right.. onto my other projects now... so see you soon.

Happy Crafting!

Thursday, 16 June 2011

In the frame and a tutorial.

Oh where is this week going? Time is just going so fast!

I did manage to get some crafting done yesterday for a couple of challenges (just for a change!) and I've done you a little tutorial in the process. It's an Open Theme over at Top Tip Tuesday, so I'm entering my tutorial and tips for this challenge.

I'm loving doing these challenges - it makes a change to do some crafting for ME and I'm getting to use all the papers and stuff that have been hanging around my craft room for a while. Good all round!

Anyway, this is the card that I've got for you today -

Photobucket

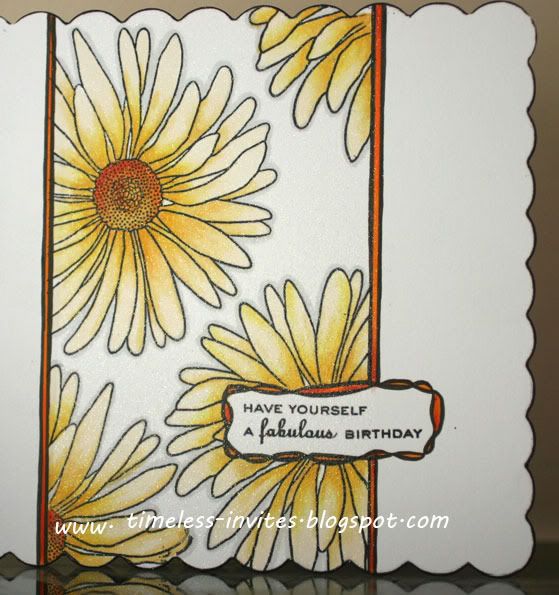
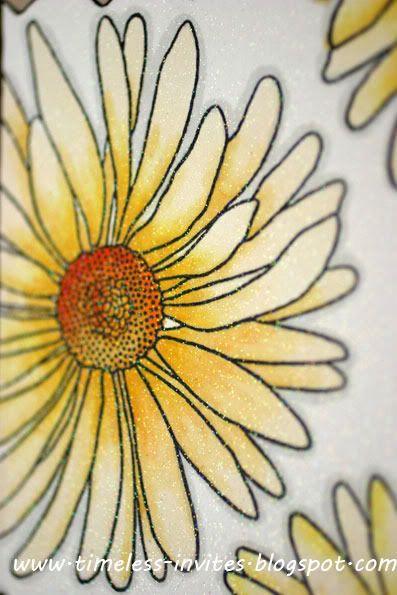
I've used a new stamp, and I love the 'bigness' of it (is that a word?). I love daisies too, so the I love Promarker challenge (Black, White and one other colour) was the perfect one to use it for. I also combined it with the Less is More Challenge (One Layer Card - in the Frame) as I am loving the clean and simple look of these challenges. Can you see the glitter?? That was the spray glitter from Crafters Companion - fantastic stuff! You can see it better on the photo below.

Photobucket

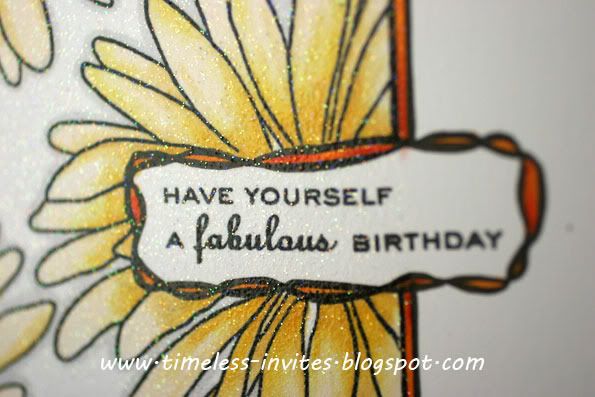
The greeting I've used here was a PI one, and it comes on a sheet with loads of tiny sayings on. Perfect for those little spaces where you need a word or two. And here's another picture showing the glitter.

Photobucket

I've used Promarkers to colour, but added a little shading - right in the corners - with the Prisma pencils. It just added that little bit of depth.

So. Onto the tutorial, and I wanted to show you how to do some MASKING so that you are not stamping all over the front of the card. This just makes it easier to keep things 'in the frame'.

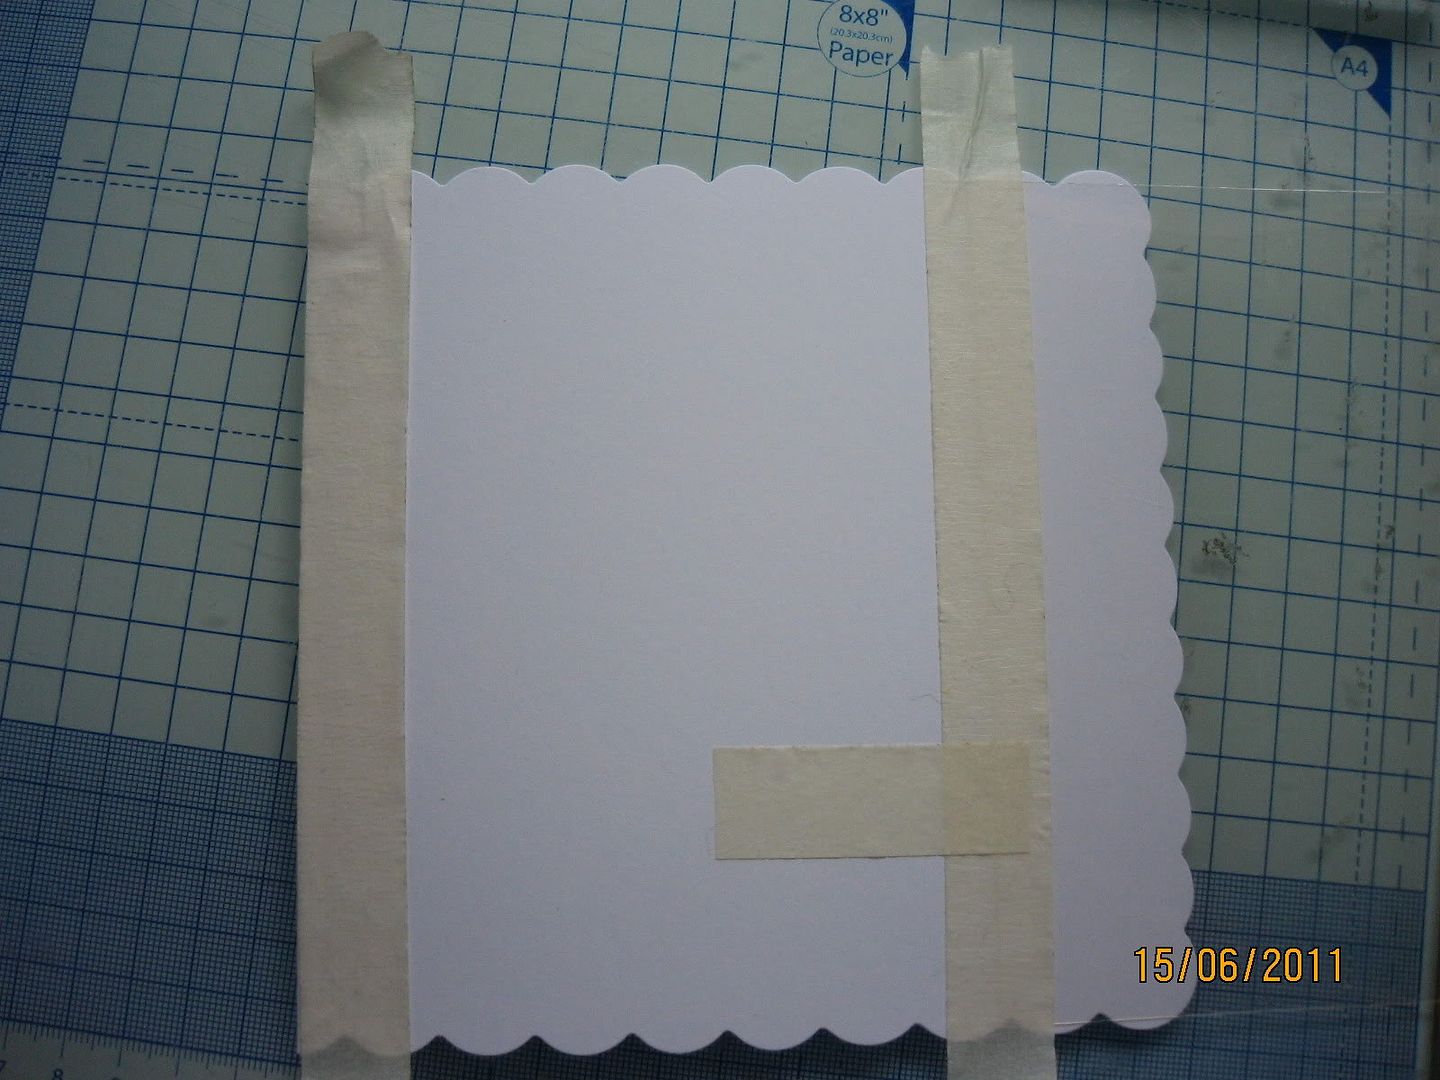
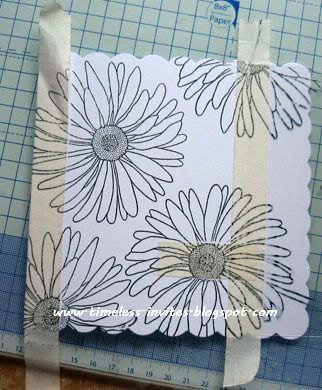
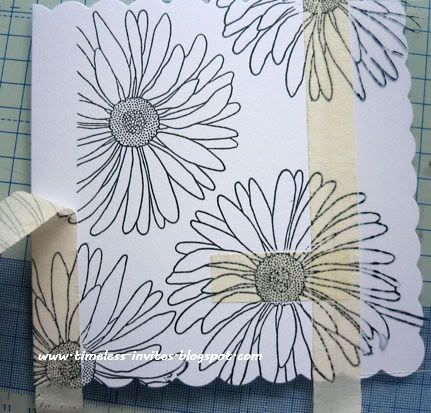
The first thing to do is to mask off the area of the card you're not wanting to stamp on. You can see here (almost) that I've layed a sheet of thin acetate to the right of the card, and held it in place with the masking tape. I've also applied a length of tape to the left to create a thin border. I also decided where I wanted my sentiment to go towards the bottom, and masked this too.

  • Tip - Stick your masking tape to your clothes a couple of times to take off the excess stickiness. It helps to peel off the card without lifting any of the top layer.
  • Tip - When you are trying to judge how much to mask off for your sentiment, stamp it onto masking tape then cut to length before sticking onto your card.

Photobucket

I then took my stamp and stamped across this central section of the card.

Photobucket

Now peel off the masking tape carefully

Photobucket

Once all the tape is peeled off, you can clearly see the edges of where you need to do the border if you would like one.

Photobucket

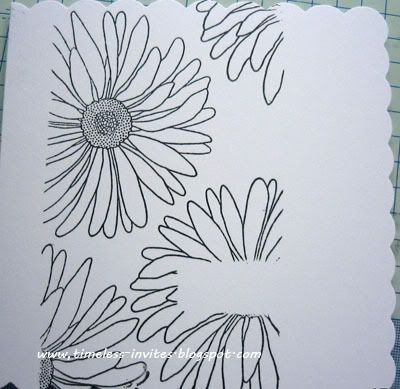
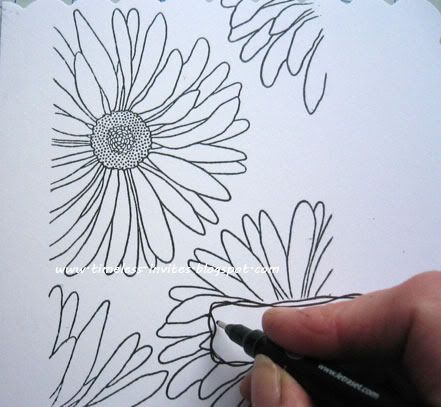
The first thing I did on mine was to draw in the sentiment box. I used a promarker black outliner and did a criss-cross style of box as I wanted to colour around it.

Photobucket

I then took my ruler and lined it up along the sides of the flowers. I drew a double border, again because I wanted to colour it in. You can draw a straight line, or a dashed or dotted line - the choice is yours really.

Photobucket

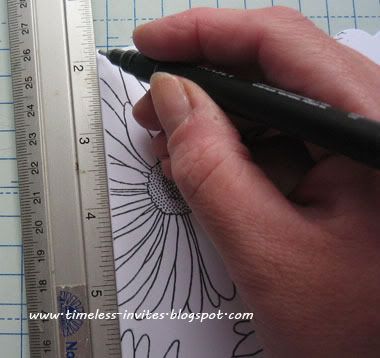
I used a black promarker to edge the card. I held the pen so that the nib was on the edge of the card and pulled it around. I only wanted a really fine edge.

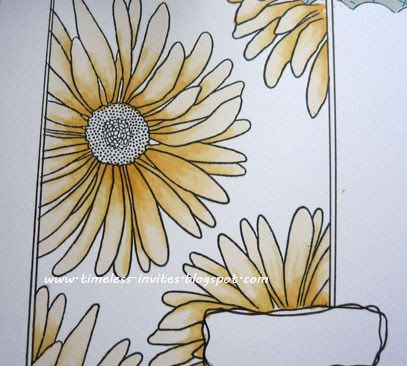
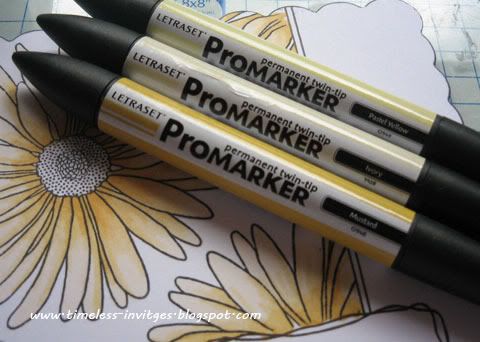
Next, take your colours and colour in the design. I've used Pastel Yellow, Ivory and Mustard to colour mine.

Photobucket

Here's the card with the daisies coloured in.

Photobucket

Now, when you've stamped your sentiment in the box (the PI stamps are clear so you can see where you're positioning them), colour in the borders and the flower centres. You can also see where I've added the shading to the daisies.

Photobucket

To finish the card, I laid a couple of sheets of inkjet paper either side of the border and sprayed on the glitter. This is what I used. I chose the irridescent version.
I hope you liked the card, and enjoyed the tutorial.

Until next time, happy crafting!

Wednesday, 15 June 2011

Someone's Happy Birthday

Last night, it was Craft Class and one of my lovely ladies, Tracey, had had a birthday at weekend. She is one of the nicest people you could meet, always has a smile on her face, and has a great creative talent.

I made a card, gave it to her, and now I'd like to share it on my blog. (Hopefully Tracey won't mind).

Photobucket


I used a variety of different things on here, but the colouring was Promarkers and Prismas. I am dragging out my prisma's more and more - and to say that I was going to sell them the other week!! They just add some beautiful shading to the images that it can be hard to know when to stop.. but I only needed a little accent here and there so not much was added to the card.

**Now a little Tip or two for you, if you are using promarkers, or copics, and want to make sure that the colours match  your papers, then do same as me and make your own colour reference chart.

I have a little book for my Promarkers, and copics, and I have printed out data panels onto the paper I use for stamping on, and this list has every colour of PM or Copic available. They are all listed in colour families - blues, greens, yellows, reds etc. I then colour in  next to the number/name of the pen and I have a Colour Reference that I can lay next to my papers to ensure the correct colour combos. Now, you need to make sure that you print onto the paper/card you use for your images.. each paper or card will show the colours in a different way. I personally use Whisper White from Stampin' Up, so I print my charts on that.

Now... when I'm shading with my Prismas, I start with the same type of colour that I used on the image. Add shading in where it needs to be, then go in with a contrasting colour - ie.. blue/purple, aqua/pale blue etc. This just adds some toning to your image. You can then use a little bit of black to deepen the shadows. And voila.. a lovely coloured image.

Photobucket


The idea for the card came from the theme over at Pink Gem Designs, where it said to use a Bloom and a Charm. Now... I have oodles of charms that I never {very rarely!} use, so thought I'd add one to the card as I wanted it to be Super Special, like the birthday girl herself.

I really hope you had a lovely birthday, Tracey, and that you were completely spoiled rotten! You deserve it.

Top Five

Morning campers!

How are we all this morning? I'm a bit chuffed if I say so myself! I'm up and about early this morning - no specific reason other than my foot is aching!! - and I thought I'd do my blog browsing.

I found out I'd made Top Five again at the Passion for Promarkers with my Baby cow card. I can't quite believe it, but thank you so much Passion for Promarkers - you've made my day!!

Here's my award..

Monday, 13 June 2011

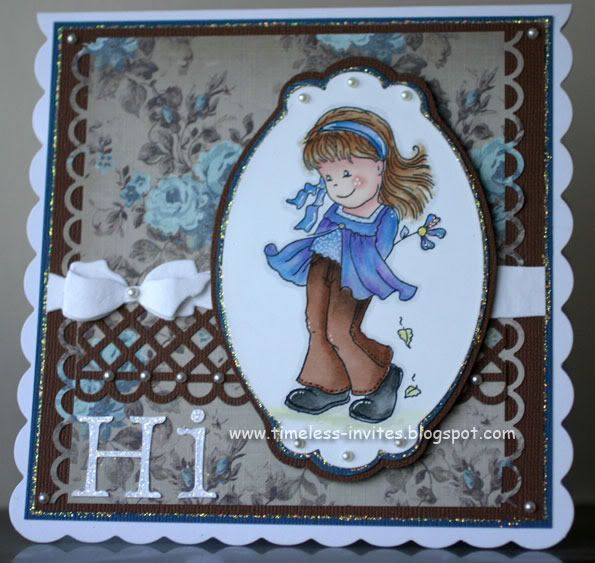
Blue and Brown

These just have to be my colour combination at the minute, and the addition of the Ella Blue paper pad that I have makes for some lovely looking cards.

Today I'd like to show you this simple card - not too embellished, but I still like it.

Photobucket

Because of the lovely pattern on the papers, I didn't want to hide it too much, so decided on a punched border, and die cut lettering.

Photobucket

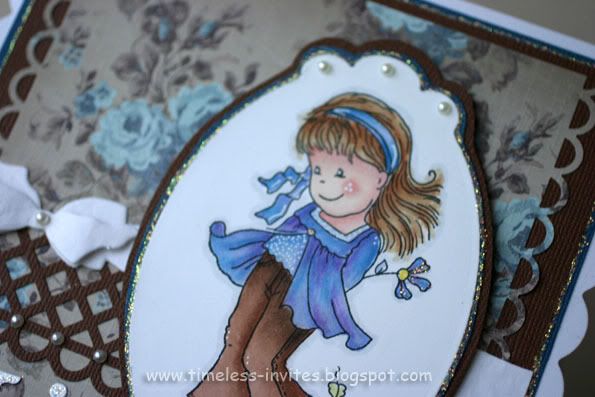
The larger border that goes across the middle is a punch that I don't often use. It's a bit wide for me really, but I thought it looked lovely just to add a flash of colour across the middle.

Photobucket

And here's my little sweetheart. Isn't she the cutest? And talking about cute... look here -

Photobucket

I'd like you to meet my new little Dragon friend.. as yet, he doesn't have a name, so if you can think of one let me know and I'll pick a winner for a little Blog Candy. I couldn't resist Mr Dragon when I saw him. He sits in my craft room with my other two, only he's got magnetic feet and hands so he often hangs from the filing cabinet.. lol.

I'd like to enter my card into the Passion for Promarkers Challenge this week, which is for a Blue/Pink and Brown card.
Animated Social Gadget - Blogger And Wordpress Tips